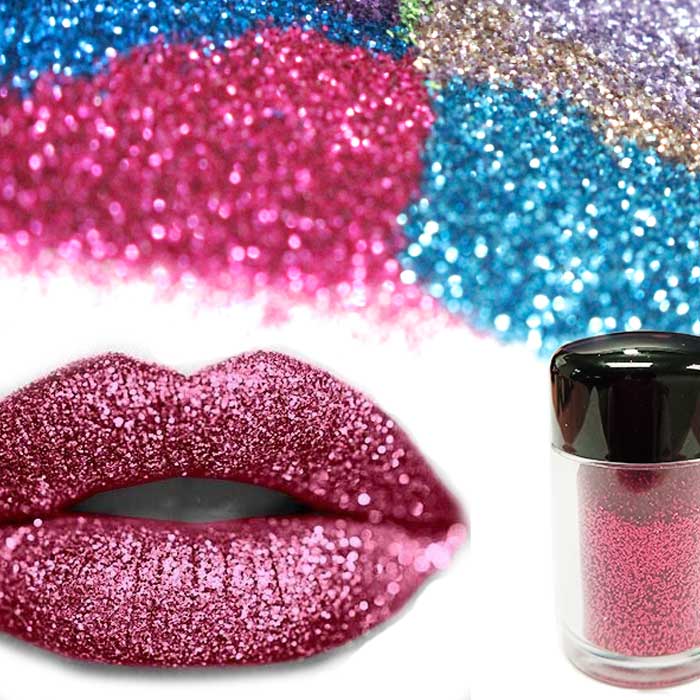
How to Choose the Right Glitter Powder for Nail Art (Durability & Effect)
That jaw-dropping, head-turning manicure? Often, it's the glitter that steals the show. ✨ But let's be honest: picking the wrong glitter powder can turn your dream design into a chipped, dull, or frustratingly textured mess. You want sparkle that lasts, looks incredible, and applies like a dream – whether you're a salon pro crafting masterpieces or a DIYer experimenting at home.
This isn't about grabbing the shiniest jar. It's about understanding the why behind the sparkle. Let's ditch the guesswork and dive into the expert secrets for selecting glitter powder that delivers both stunning effects and serious durability.
Why Your Glitter Choice is a Big Deal (Beyond Just Pretty)
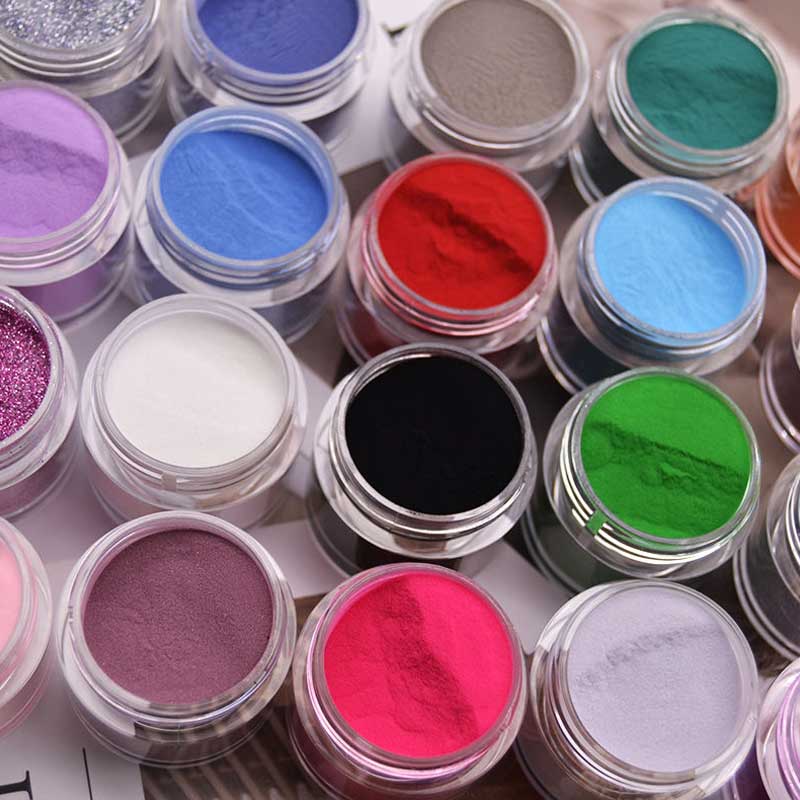
Think all glitter is created equal? Think again! Craft glitter? Forget it. For nails, cosmetic-grade glitter powder is non-negotiable. Why?
Safety First: It's specifically formulated and tested to be non-toxic and gentle on nails and skin. No nasty surprises.
Smooth Operator: Precision-cut edges mean it won't scratch, irritate, or feel like sandpaper on your nails. Comfort is key!
Maximum Bling: Engineered for superior light reflection. This is where the magic (and science!) happens for that intense sparkle.
Built to Bond: Designed to actually stick to gel polish, acrylics, and top coats – essential for longevity.
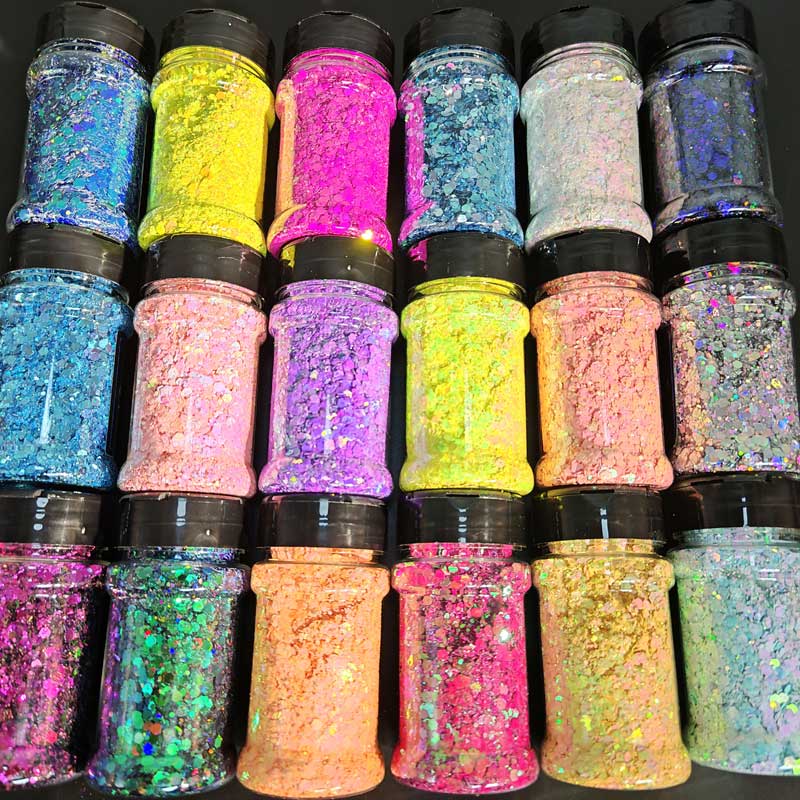
1. The Glitter Showdown: Polyester vs. PET – Where Shine Meets Strength
The core material is your foundation. It dictates both how dazzling your nails look and how well they stand up to life.
Polyester Glitter: The Endurance Champion
Durability Superstar: This stuff is tough. It laughs in the face of household cleaners, acetone (to a point!), and daily wear-and-tear. Resists fading and dulling remarkably well. Your sparkle stays vibrant.
Shine Factor: Delivers a bright, clean, metallic sparkle. Excellent, consistent color payoff.
Perfect For: Clients who demand longevity – think nurses, cleaners, busy moms. Ideal for full glitter coverage or encapsulated designs meant to last weeks. The go-to for durability-focused looks.
PET Glitter (Polyethylene Terephthalate): The Shine Queen
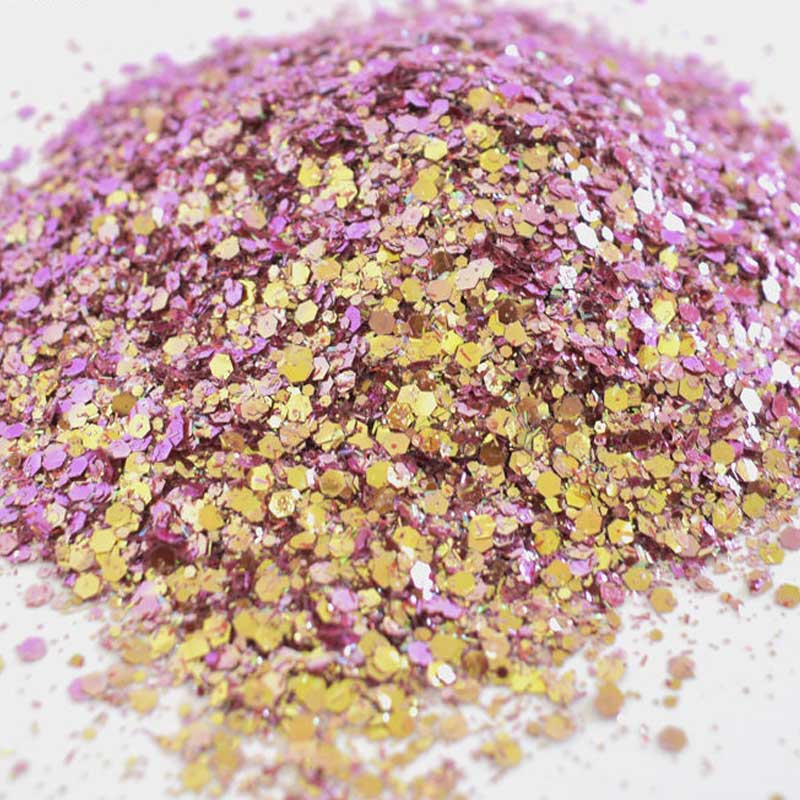
Bling to the Max: Prepare for brilliance! PET offers an almost mirror-like, intensely holographic, or mesmerizing iridescent sparkle. It catches light like nothing else, creating that true "wow" factor.
Durability Notes: While high-quality cosmetic PET is durable, it can be slightly more susceptible to fine scratching or potential dulling from very harsh chemicals over extended periods compared to polyester. A good top coat is its best friend!
Perfect For: When you want maximum impact, drama, and eye-catching effects. Think holographic flames, dazzling accent nails, or intricate designs where shine is the undisputed star. Prioritize the visual punch!
🔥 Pro Tip: Can't decide? Seek out hybrid glitters that blend PET's intense sparkle with polyester's resilience! Hexagonal cuts often give the best light play.
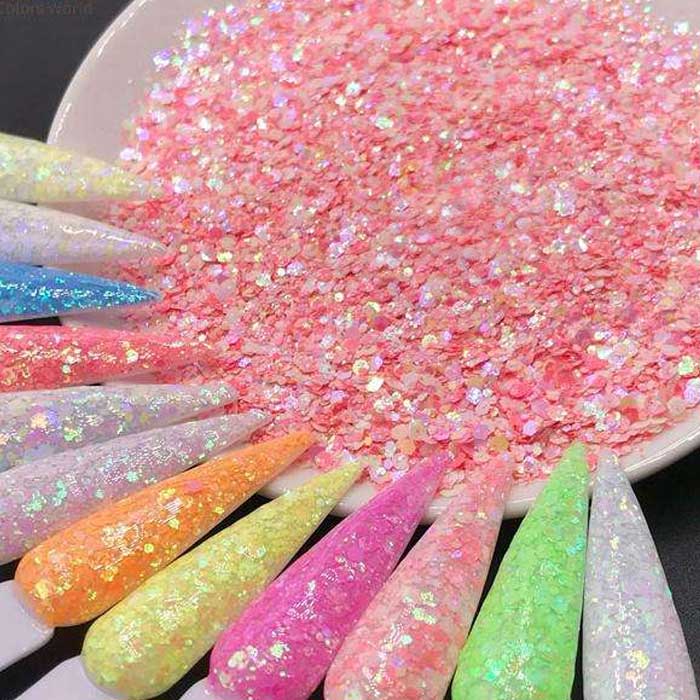
2. Size Matters: Picking Your Perfect Sparkle Personality
Glitter size isn't just about being big or small; it defines the entire mood and texture of your design.
Fine Glitter (Think: Dusty Shimmer):
The Vibe: Creates a smooth, sophisticated, almost metallic or pearlescent finish. Like crushed diamonds or a soft, ethereal glow. Minimal texture, maximum elegance. Micro-holos live here!
Durability Bonus: Super easy to encapsulate flawlessly under top coat. Creates a glass-like finish that's incredibly resilient and snag-proof.
Best Uses: Full "liquid metal" nails, subtle gradients, delicate accents, chrome effects, minimalist sparkle.
Medium Glitter (The Classic Sweet Spot):
The Vibe: This is your quintessential, versatile glitter sparkle. Noticeable, defined particles that still allow for a relatively smooth finish. Offers great sparkle without overwhelming bulk.
Durability Bonus: Holds up very well with proper application. Seals smoothly under top coat.
Best Uses: The most popular choice! Perfect for full glitter manicures (think glitter French tips!), geometric patterns, adding significant sparkle, or as a base for designs.
Chunky Glitter & Shapes (Bold & Beautiful):
The Vibe: Makes a serious statement! Think large flakes, hearts, stars, shards – pure drama and high texture. Unmissable impact.
Durability Reality Check: Requires meticulous technique. Edges can catch, and full encapsulation is crucial to prevent lifting. Best suited for shorter wear times or as stunning accent features.
Best Uses: Single accent nails, encapsulated "jewels," 3D nail art, special occasions where boldness is key.
3. The Glue That Holds the Glamour: Pro Adhesion Secrets
Choosing the perfect glitter is only half the win. Making it stay is the art:
Sticky Situation is Good: Glitter needs a tacky base to grab onto.
Gel Polish: Apply glitter directly onto the sticky "inhibition layer" left after curing your color/base coat. Pat firmly before curing.
Acrylics: Work fast! Sprinkle glitter into the wet acrylic bead before it sets.
Regular Polish: Apply over wet polish or use a dedicated glitter adhesive gel/glue.
Patience & Patting: Ditch the pour! Gently pat the glitter onto the tacky layer using a silicone tool, makeup sponge, or your finger (dipped in a bit of cuticle oil first to prevent sticking). Patting embeds it far better.
Tap Off the Travelers: Before curing or top coating, gently tap the finger to dislodge any loose, unadhered glitter. Less cleanup later!
Encapsulation: Your Secret Weapon for Longevity 🔐 This step is critical. Skipping it is asking for chips and snags.
Thick & Luxe Top Coat: Use a high-quality, viscous no-wipe top coat (gel) or a strong, thick top coat (regular polish).
Float, Don't Drag: Load your brush. Gently float the top coat over the glitter. Let it flow around the particles, completely encasing them. Avoid brushing back and forth which can drag glitter and create lumps.
Seal the Deal: Wrap that top coat meticulously over the free edge of the nail. This seals the end, preventing water ingress and lifting.
Layer Up for Chunky: For larger glitters or shapes, a second coat of top coat is often essential to achieve a perfectly smooth, fully encapsulated dome.
Cure it Right (Gel Users): Don't shortcut the lamp time! Ensure each layer, especially the thick encapsulation top coat, cures fully according to your lamp's instructions. Undercuring is a major cause of premature failure.
Sparkle Smart, Shine Long: Your Glitter Checklist
Choosing nail art glitter isn't just about color; it's a strategic blend of art and science for stunning, lasting results:
Material Mindset: Need tough love? Polyester. Craving dazzling holo magic? PET. Hybrids offer the best of both.
Size Sets the Style: Elegant shimmer? Fine. Classic sparkle? Medium. Bold drama? Chunky (apply with care!).
Cosmetic-Grade is Crucial: Never compromise on safety or performance. Nail-specific glitter only.
Seal the Sparkle: Flawless adhesion and encapsulation under a premium top coat are non-negotiable for glitter that lasts.
Armed with these insights, you're ready to navigate the glitter universe with confidence. Transform your nail visions into breathtaking, durable realities – whether you're creating salon masterpieces or expressing your unique style at home. Go forth and make those nails sparkle smarter! ✨